.svg)
.webp)


.svg)
That familiar creak underfoot is one of the most common complaints homeowners bring to us at Simple Flooring. Sometimes it appears gradually, sometimes overnight after a long winter. Either way, creaky floors are not just a nuisance — they are your home telling you something. Knowing what that something is will save you time, money, and a lot of frustration.
This guide explains why floors squeak, walks through realistic DIY repair options step by step, and gives you honest cost estimates so you can decide whether to tackle the job yourself or call in a professional.
Why Do Floors Creak: The Root Causes
Creaky floors come down to one basic problem: friction. When floorboards, subfloor panels, or structural members rub against each other or against fasteners, the result is that familiar squeaking or creaking noise. Several things cause that friction to develop.
Wood Movement from Humidity Changes
This is the leading cause of creaky floors in the Chicago area, and it is worth understanding in detail. Wood is a hygroscopic material, meaning it absorbs and releases moisture depending on the surrounding air. During humid summers, boards expand. During dry winters, they contract. That cycle of expansion and contraction widens gaps, loosens nails, and causes adjacent boards to shift against each other. Maintaining indoor humidity between 35% and 55% year-round dramatically reduces how much your floors move.
Loose Fasteners
Nails and screws that once held the subfloor firmly to the floor joists can loosen over time. When a board lifts slightly with each step and then drops back down, the friction produces a squeak. This is especially common in older homes where nails were used exclusively rather than screws and adhesive.
Gaps Between the Subfloor and Joists
Floor joists are the structural beams running beneath your subfloor. When the subfloor is not fully in contact with a joist, walking over that spot creates downward pressure, slight movement, and noise. These gaps often develop gradually as wood dries out or as a home settles.
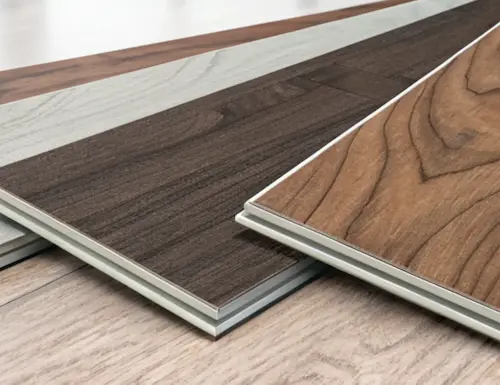
Installation Method
Floating floors, including most laminate and some engineered hardwood, are more prone to creaking than nail-down or glue-down installations because the entire surface can shift as a unit. This is not a defect; it is a characteristic of the installation system. That said, it means floating floors require particularly stable subfloors and consistent humidity control.
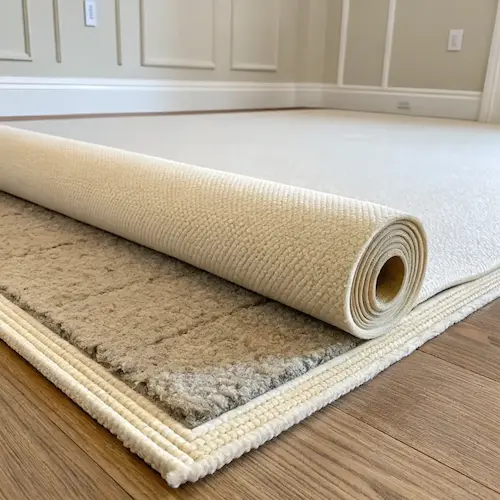
Poor Subfloor Preparation
Uneven or insufficiently secured subfloors are the most preventable cause of creaky floors. When a subfloor is not flat and stable before installation, any flooring laid on top is more likely to develop squeaks over time. This is one reason professional installation — with proper subfloor assessment built into the process — tends to produce quieter, longer-lasting results.
Chicago's Climate and Creaky Floors
Chicagoland homeowners deal with some of the most dramatic seasonal humidity swings in the country. Winters are genuinely dry — indoor humidity can drop below 20% when outdoor temperatures fall — and summers can push indoor humidity above 70% without proper HVAC management. That range, repeated year after year, is hard on any wood flooring system.
Hardwood floors are most sensitive to these swings, but engineered wood, laminate, and even subfloor panels all respond to moisture changes. If your creaky floors seem to get worse every January or flare up in August, seasonal humidity movement is almost certainly the cause. A whole-home humidifier in winter and consistent air conditioning in summer will reduce the problem significantly and protect your flooring investment over the long term.
How to Fix Creaky Floors: DIY Methods
Whether you can realistically handle a repair yourself depends on where the squeak is coming from, what type of flooring you have, and whether you have access to the underside of the floor. Here is a practical breakdown of the most effective methods.
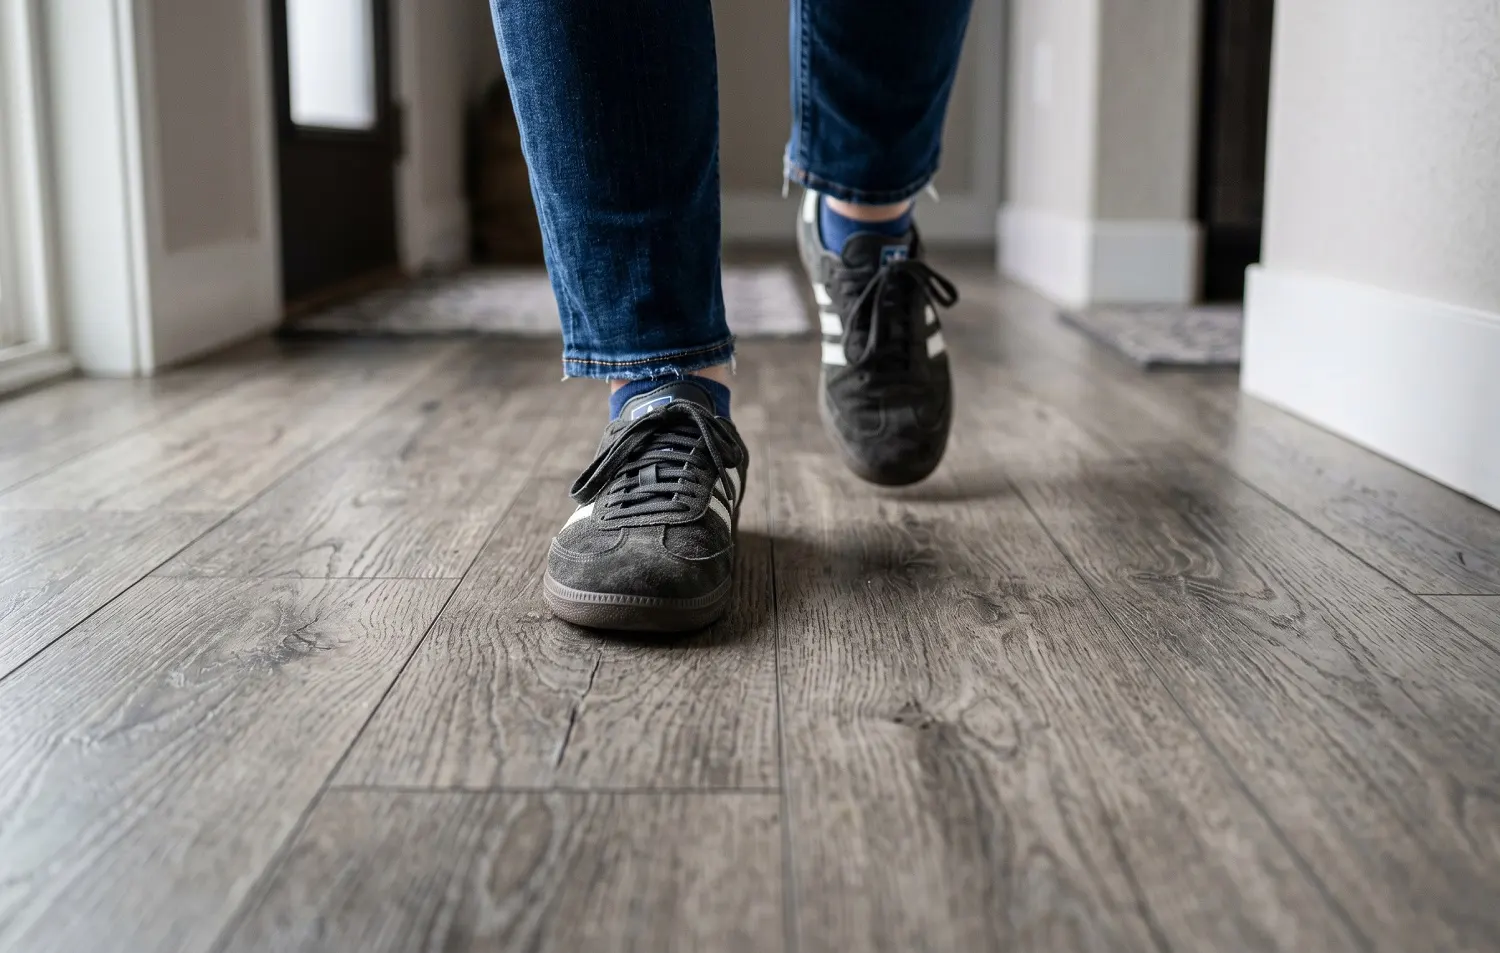
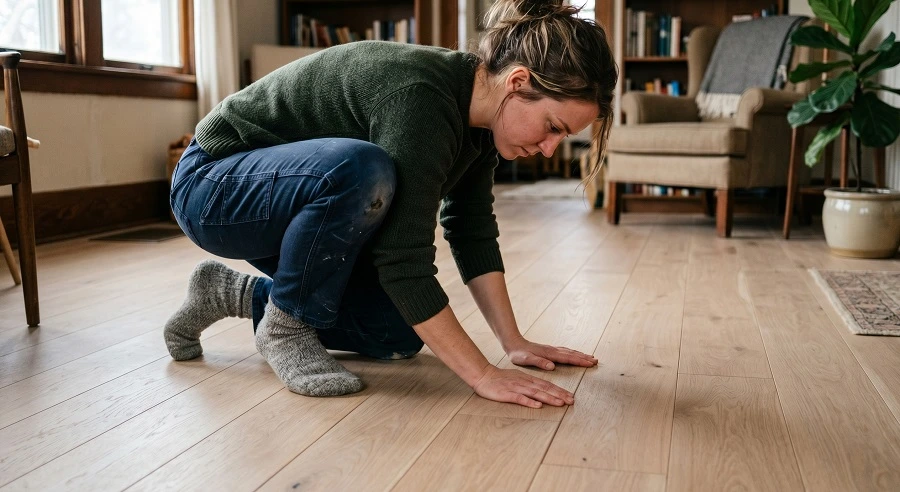
Step 1: Locate the Source Accurately
Walk the affected area slowly and mark the exact spots where the creak is loudest. The more precisely you identify the source, the more targeted and effective your repair will be. If you have an unfinished basement or crawl space, have someone walk the floor above while you observe from below with a flashlight. Look for visible gaps between the subfloor and the tops of the joists, or for any slight movement when weight is applied.
Step 2: Try Lubrication First (Surface-Level Squeaks)
If the squeak sounds like it is coming from the floor surface itself rather than deep within the structure, lubrication is a low-risk first step. Sprinkle powdered graphite or talcum powder into the seam between the creaking boards. Place a cloth over the area and walk back and forth on it to work the powder into the gap. This reduces the friction between boards without any tools or structural work. It is a temporary fix — expect it to last a few months to a year — but it is worth trying before moving to more involved repairs. Do not use liquid lubricants; they can damage wood finishes.
Step 3: Fill Gaps with Wood Shims (Access from Below)
If you can see a gap between the subfloor and a joist from below, a wood shim is the right tool. Apply a thin bead of construction adhesive to the shim, then slide it gently into the gap until it makes firm contact. Do not pound it in forcefully; over-driving a shim can raise the floor above it and create a new problem. Once the adhesive cures, the shim bonds the subfloor and joist together, eliminating movement.
Step 4: Secure with Screws from Below

For areas where the subfloor is moving against a joist and a shim is not enough, driving screws through the subfloor into the joist from below is a reliable fix. Use a power drill to create a pilot hole, then drive the screw through the subfloor into the joist. Use screws short enough that they will not break through the finished floor above — this is critical. This method pulls the subfloor tight against the joist and removes the play that causes the creak.
Step 5: Repair from Above When Basement Access Is not Available
For finished basements or upper-level floors, you have to work from the top down. Drill a small pilot hole through the floorboard at an angle, at least half an inch from the board edge to avoid splitting. Drive a trim screw or finish nail through the pilot hole, securing the board to the subfloor. Use a nail set to countersink the head below the surface, then fill the hole with color-matched wood filler. Allow it to dry fully and sand lightly until flush. Done carefully, the repair is nearly invisible.
Step 6: Add Blocking or Bridging for Widespread Movement
If multiple boards are creaking across a large area, the problem may be that the subfloor panels are flexing between joists rather than at the joists themselves. Adding solid blocking — short lengths of lumber installed between the joists beneath the problem area — stiffens the floor system and reduces that flex. Apply construction adhesive to the edges of the blocking before securing it with structural screws.
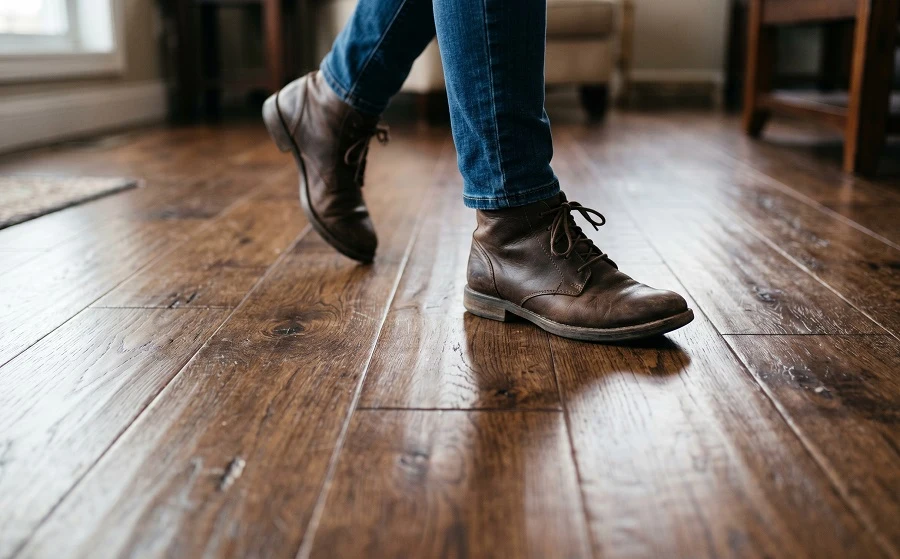
How to Fix Creaky Hardwood Floors Without Ruining the Finish
Creaky hardwood floors present a specific challenge because you generally want to avoid visible repairs to a finished surface. The good news is that the approach from below works just as well for hardwood as for any other floor type, and the cosmetic impact is zero.
When working from above on hardwood, the key is using finish nails rather than larger screws wherever possible, because the smaller hole is easier to conceal. Always pre-drill a pilot hole to prevent the wood from splitting, especially with narrower boards. Countersink the nail head and fill with a color-matched wood putty. Once sanded flush, the repair blends in with the surrounding floor on most finishes.
For older hardwood that creaks because the boards have dried out and shrunk over decades, lubrication and humidity control will help more than mechanical fasteners. Adding moisture back to the air during winter months allows the boards to expand slightly and re-tighten their fit against adjacent boards.
Refinished hardwood that creaks after sanding is worth mentioning as a separate case. If a floor developed squeaks after refinishing, the cause is usually that the sanding process removed material from the board surfaces, slightly increasing the gap between boards. A professional can assess whether the subfloor connection needs reinforcement or whether the floor simply needs time to adjust to its new thickness.
How to Silence Squeaky Floors Without Removing the Carpet
Carpet makes squeaky floor repair slightly more complicated because you cannot see the boards beneath. The best approach is to use a stud finder to locate the floor joists through the carpet, then drive finish nails at the identified points. Use a nail set to push the nail head below the carpet surface without snagging or damaging the fibers.
Specialty squeak repair kits designed specifically for carpeted floors are also available. These kits use breakaway screws that pass through the carpet and subfloor into the joist; the screw head then snaps off cleanly below the carpet surface, leaving the carpet undisturbed. These kits take more time to source but produce cleaner results than finish nails alone.
#cta_start
Not Sure Where the Squeak Is Coming From?
Simple Flooring offers professional floor assessments throughout the Chicago metro area.
#cta_end
Squeaky Floor Repairs That DIY Cannot Fix
Most squeaky and creaky floors can be addressed with the methods described above. A few situations call for a professional evaluation rather than a DIY attempt.
If a squeak returns within a few weeks of a repair, the underlying issue is likely more significant than a simple loose board. Widespread floor flex across a large area, or floors that feel soft or "spongy" underfoot, may indicate that the joists themselves are compromised — cracked, water-damaged, or improperly spaced for the span they cover. These are structural issues that no amount of shimming or screwing will permanently resolve.
Similarly, if you notice significant sagging in a floor section, or if the creaking developed suddenly after a plumbing leak or flooding, professional assessment is the right first step. Moisture damage to subfloor panels and joists can be extensive without looking dramatic from above.
When in doubt, a professional flooring contractor will give you a clear picture of what is happening beneath your floor and what it will take to fix it correctly the first time.
How Much Does It Cost to Fix Creaky Floors?
Repair costs vary considerably depending on the cause, the extent of the problem, and the floor type involved.
- DIY repairs: Cost next to nothing in materials. Powdered graphite runs a few dollars, wood shims under $10, and specialty squeak repair screw kits between $20 and $40 at most hardware stores.
- Professional repairs: Typically range from $500 to $1,500 for most residential jobs, depending on access, the number of problem areas, and whether any subfloor replacement is needed. Structural joist repairs fall outside that range and require a separate assessment.
It is worth noting that most floor repair work is not covered by standard homeowner's insurance unless the damage stems from a covered event like a burst pipe. Manufacturer product warranties may also have restrictions on DIY repairs, so it is worth reviewing any relevant warranty documentation before proceeding.
#cta_start
Tired of Creaky Floors in Your Chicago Home?
Simple Flooring has been diagnosing and repairing floor problems across the Chicago metropolitan area for over 50 years. Whether your floors need a targeted repair or a full replacement, our team will assess the situation honestly and recommend what actually makes sense for your home and budget.
#cta_end


