.svg)
.webp)


.svg)
Hardwood flooring on stairs is often overlooked, yet it holds immense potential for enhancing your home's overall aesthetic appeal and value. We’re Chicago hardwood floor installers, and over the years, we’ve seen how a well-crafted hardwood staircase transforms an ordinary set of steps into an incredible focal point, adding sophistication and elegance to any interior.
This comprehensive guide offers step-by-step instructions and valuable tips for installing hardwood floor stairs with confidence, helping you create a stunning transition between your home's floors.
Best Hardwood Flooring Options for Stairs
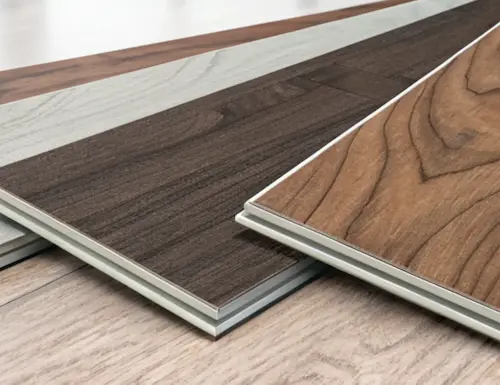
When you're choosing hardwood for stairs, it’s important to find options that offer both style and strength. Stairs see heavy foot traffic every day, so you’ll want a material that holds up and still looks great over time.
Engineered hardwood — built with multiple layers, this type offers strong moisture resistance and holds steady across changing temperatures, making it a smart choice for staircases between different levels of your home.
Solid hardwood — known for its durability, solid wood gives your stairs a consistent look from floor to step and can be sanded and refinished several times through the years.
Best Wood Species for Stair Installation
When picking a wood type, think about both appearance and function. Oak is a go-to option for many homeowners, thanks to its solid durability and classic grain at a fair price. If you have pets or young kids, maple and hickory hold up especially well against scratches and wear.
Pros and Cons of Each Type
Solid hardwood:
- Pros: Tough enough to last for decades, stands up well to wear, and adds long-term value to your home.
- Cons: Usually costs more, can be harder to install without help, and isn’t ideal in high-moisture areas.
Engineered hardwood:
- Pros: Handles humidity and temperature shifts better, typically more affordable, and often easier for DIY installations.
- Cons: Limited refinishing options and sometimes less natural-looking, depending on the surface layer.
Investment Comparison: DIY vs. Professional Installation
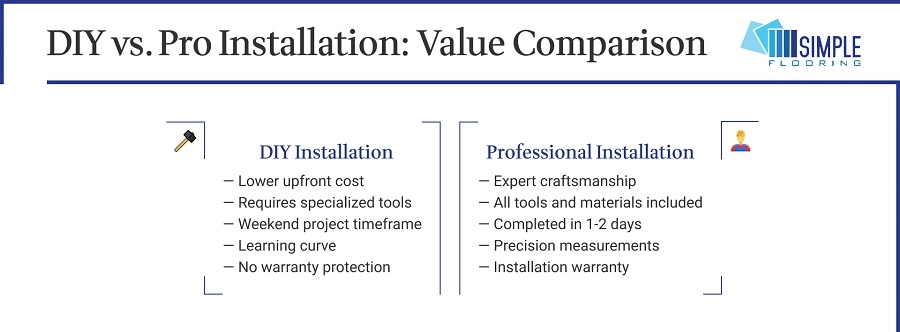
Before getting started, it’s important to look at the time and money you’ll need to invest. Hardwood stair materials alone typically run between $100 and $200 per step. For a standard staircase with eight steps, that adds up fast. Doing the job yourself can cut labor costs, but keep in mind you’ll need:
- Specialized tools — some you may need to buy or rent
- Extra materials in case of mistakes
- Two to three full days to complete everything
- Previous experience with detailed carpentry work
Hiring a pro does come at a higher upfront cost, but it often pays off in the long run with:
- Skilled workmanship and a clean, polished look
- Faster turnaround — usually one to two days
- Warranty coverage
- Experience handling tricky cuts and layout problems
If you’re aiming for a flawless result and lasting value, hiring a professional can often be the smarter move, especially when stairs are a big focal point in your home.
How to Replace Carpeted Stairs with Hardwood: Full Installation Guide
Turning your carpeted stairs into hardwood takes patience and careful attention at every stage. Expect the whole process to take two to three days, with time built in for prep and drying between steps.
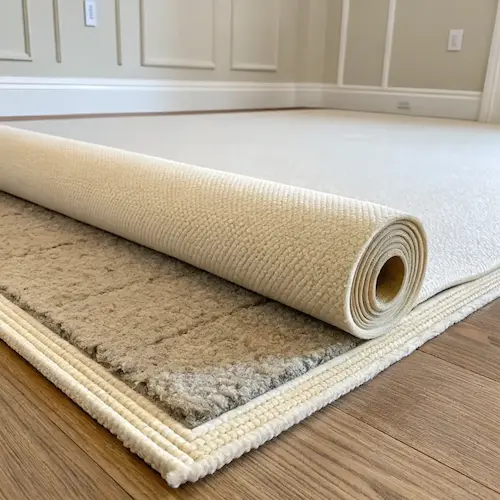
Step 1: Remove the Carpet

Start by removing every piece of the old carpet and padding from your stairs:
- Cut the carpet into strips using a utility knife.
- Lift the carpet off the tack strips with care.
- Use pliers and a pry bar to remove staples, padding, and strips.
- Vacuum and wipe down the stairs to remove leftover dust and debris.
Prepping takes time, but it’s key to getting a solid, lasting result. If you’re planning to refinish instead of replace the wood underneath, be extra careful when pulling up staples to avoid gouging the surface.
Step 2: Assess Your Stair Condition

Before installing new materials, carefully evaluate your stairs:
- Look for cracks or soft spots that may need repair.
- Secure loose steps with fresh screws.
- Fill in any gaps or holes with wood filler.
- Lubricate squeaky areas or use shims to quiet noisy stairs.
- Measure each step to check for comfort using the “27 rule” (riser height + tread depth = 27 inches).
Following the 27 rule helps keep your stairs safe and comfortable to walk on. If your measurements are way off, think about adjustments before you go further.
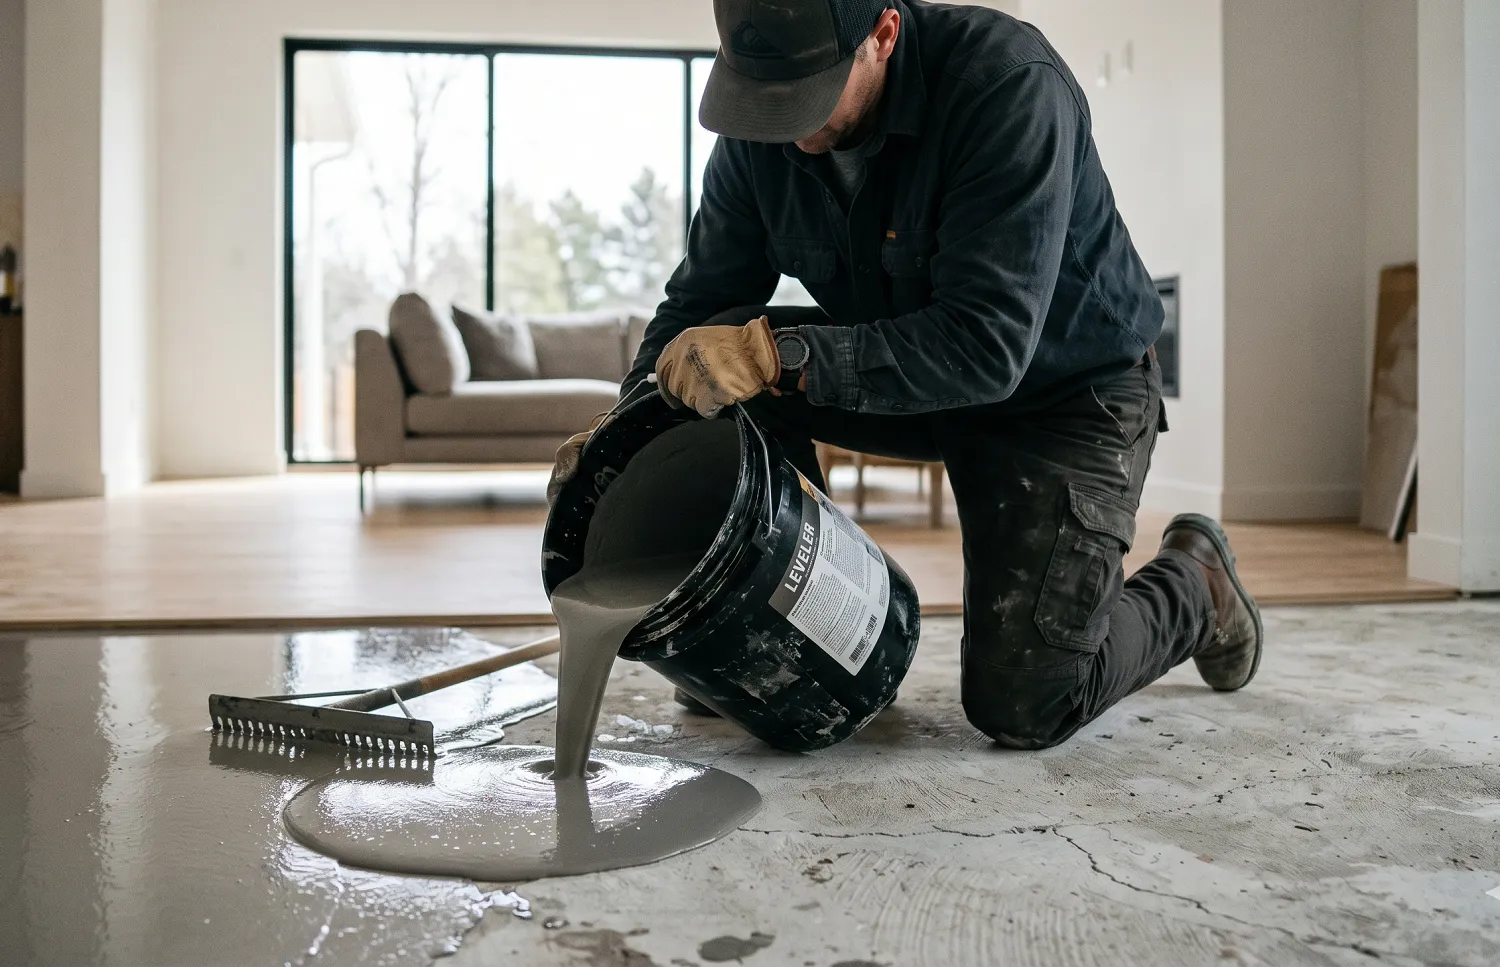
Step 3: Prepare Stair Surface for Installation

Properly preparing your stairs creates the foundation for a beautiful installation:
- Use a jigsaw to remove the nosing if needed.
- Sand the surface with medium-grit paper to smooth out any rough spots.
- Clean off all dust and debris.
- Double-check that each stair is level and secure.
This is the most important part of the job — any issues you skip over now will show up later in the final look. In older homes, you might need to spend extra time here to make sure everything is solid and level before you move on.
Step 4: Measure and Cut Each Piece Carefully

Getting the right fit is key if you want a clean, professional finish:
- Take accurate measurements of every tread and riser — each one might be slightly different.
- Use a pencil to mark your cut lines directly on the material.
- Start by cutting all risers, followed by the treads.
- Leave an overhang of about 1 to 1.5 inches on each tread.
- Use a jigsaw for detailed cuts on nosing pieces.
Double-check your measurements before you cut. A small mistake at this point can throw off the whole project and cost you time and materials.
Step 5: Start with the Risers

Always begin the installation process with the risers:
- Spread construction adhesive in a zigzag pattern on the stair frame.
- Fit the riser flush against the stair base.
- Secure it with finishing nails at the top and bottom.
- Wipe off any extra adhesive right away with a damp cloth.
- Work from the bottom step upward so you’re not working over finished areas.
The risers set the visual tone of the staircase and help create clean, straight lines. Many people paint the risers to create a sharp contrast with the stained wood treads.
Step 6: Attach the Treads

Treads take the most wear, so it’s important to install them securely:
- Use a generous amount of adhesive on each stair surface.
- Set the tread in place, making sure the overhang is even.
- Add nails along with the adhesive to keep everything in place.
- Drill small pilot holes to prevent wood from splitting.
- Use 16-gauge nails or staples and space them about 6 inches apart.
- Fill each nail hole with a matching wood filler.
The combination of adhesive and nails helps keep your stairs solid. The adhesive cuts down on noise, and the nails hold everything together while it sets.
Step 7: Wrap Up with Final Touches

After installing the wood, finish the job with a few final details:
- Add any trim or edge pieces for a clean look.
- Sand every surface, starting with medium grit and finishing with fine.
- Vacuum and wipe down the stairs to get rid of dust.
- Look for any nail holes or small gaps that need filling.
Finishing Hardwood Stairs the Right Way
Finishing protects your new hardwood and brings out the beauty of the grain. Give yourself a day or two for this step to allow everything to fully dry and set.
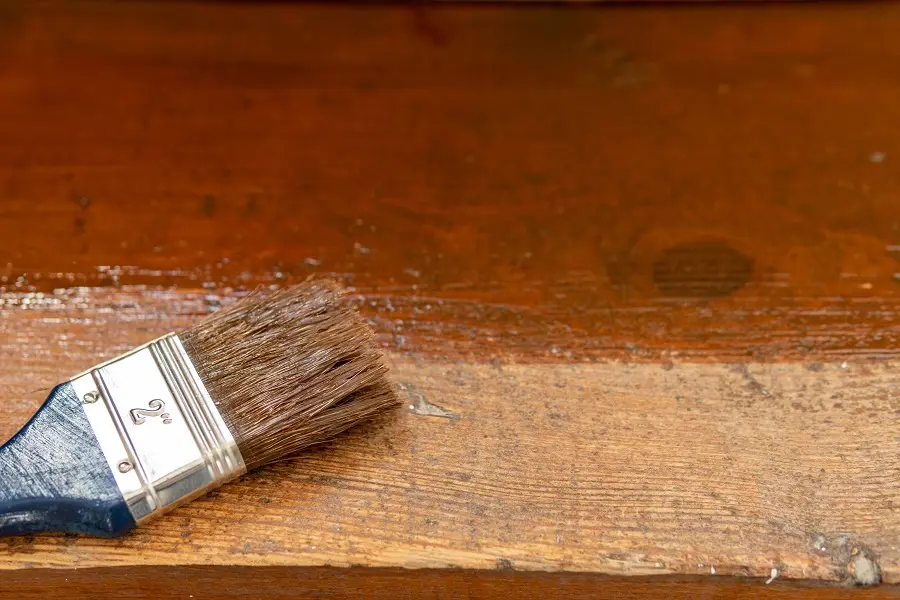
Step 8: Apply Stain (If Desired)

Staining is optional, but it can really bring out the character of your stairs:
- Test your stain color on a scrap piece first.
- Apply stain along the wood grain using a brush or cloth.
- Wipe off any extra right away to keep the color even.
- Let it dry for a full 24 hours before sealing or stepping on it.
- Add a second coat if you want a deeper finish.
Some woods absorb stain better than others. Oak usually stains evenly, while maple can be tricky and may need a wood conditioner first.
Step 9: Apply Protective Finish
A proper protective finish is essential for stairs:
- Use polyurethane or another finish made for high-traffic areas.
- Apply thin, even coats with a high-quality brush.
- Stick to 2–3 thin layers instead of one thick one for stronger protection.
- Lightly sand between coats with 220-grit sandpaper.
- Give each coat enough time to dry — usually about 24 hours.
For stairs, a satin or semi-gloss finish works best. High-gloss can look nice but tends to be slippery. Water-based poly dries faster, while oil-based options generally offer longer-lasting protection.
Step 10: Final Details

Finish your stair project with these last few steps:
- Put baseboards or trim back in place around the staircase.
- Add a non-slip finish or treads if safety is a concern.
- Wait 24 to 48 hours before using the stairs to let everything cure.
- If you have pets or young kids, consider adding a runner for extra grip.