.svg)
.webp)


.svg)
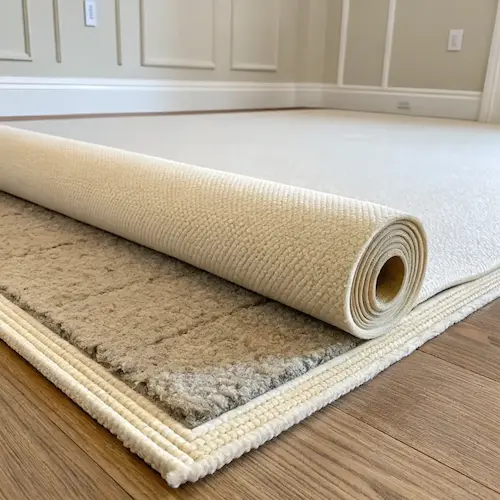
If your floor feels uneven, sounds hollow, or shows gaps and movement after installation, the issue may start below the surface. Subfloor work is what gives hardwood, laminate, vinyl, carpet, and tile a flat base to sit on. Without that base, the finish floor can shift, crack, squeak, or wear out early.
Simple Flooring Co handles subfloor prep and floor installation for Illinois homeowners who want the job done from start to finish. Whether the room has a wood subfloor or a concrete slab, the goal stays the same: fix the cause, flatten the surface, and get the floor ready for the material going on top.
What Causes an Uneven Subfloor
A flat floor starts with the right diagnosis. A dip can come from settling, joist movement, moisture damage, a bad patch job, or old underlayment that was never installed well. Treating every problem with a pourable product is how short-term fixes turn into callbacks.
Common causes of an uneven subfloor:
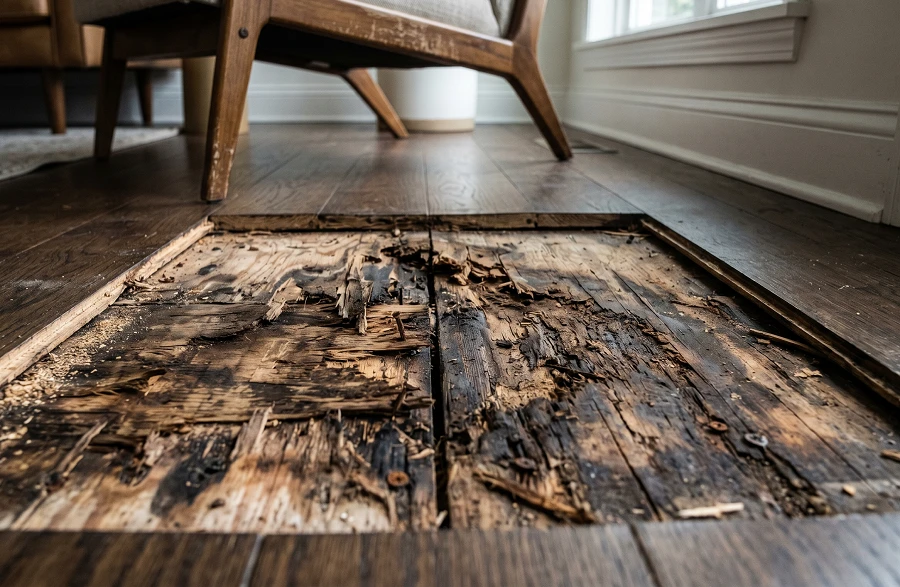
- Moisture exposure: Water is one of the most common causes of swelling, soft spots, and subfloor damage. Even a small leak can leave weak material behind if it sits long enough.
- Loose panels or fasteners: On wood subfloors, movement between sheets can create squeaks, flex, and uneven seams. That movement needs to be stopped before the surface is patched.
- Old patch jobs: Some rooms have layers of patching that were applied only where the problem showed, not where it started. The result is a floor with ridges, rough edges, and uneven transitions.
- Settling or framing movement: Older homes may develop dips or slopes over time. Some are minor surface issues, while others point to joist or framing problems below.
Once the cause is clear, the repair has a much better chance of lasting. That is why diagnosis should come before product selection every time.
Signs Your Subfloor May Need Leveling
Uneven subfloors usually leave clues long before the old flooring is removed. Some are easy to spot, while others only show up after demolition begins.
Common clues before demolition:
- Squeaks that keep coming back
- Tile cracks that reopen after repair
- Gaps between boards or planks
- A floor that feels spongy in one area
- Furniture that rocks on what should be a flat surface
- Visible dips near walls, doorways, or room transitions
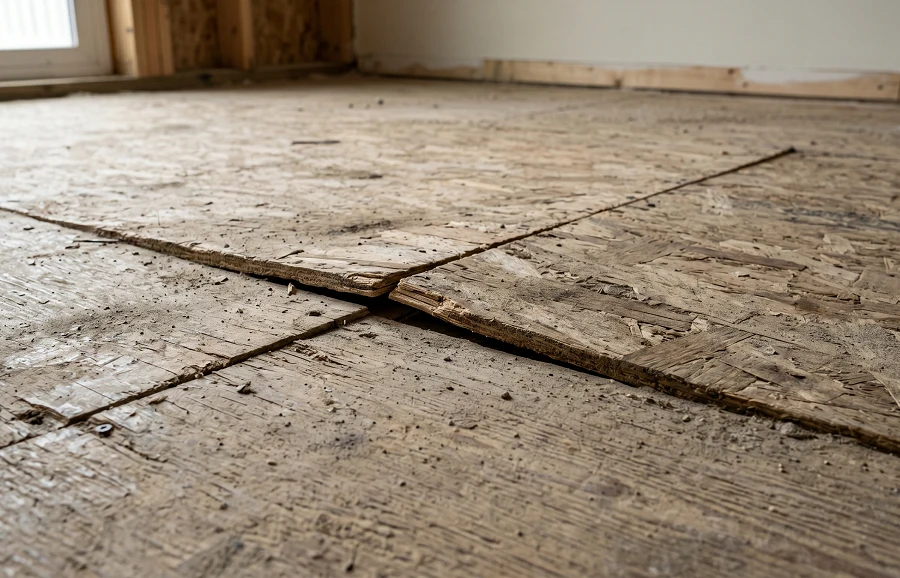
What often shows up after the old floor comes out:
- Loose fasteners
- Swollen plywood edges
- Cracks or patched areas in concrete
- Adhesive residue or paint that blocks bonding
- Moisture staining
- Soft or rotten sections around sinks, entries, or basements
That is why inspections after floor removal matter so much. A room can look fine from above and still need repairs underneath before the new material goes in.
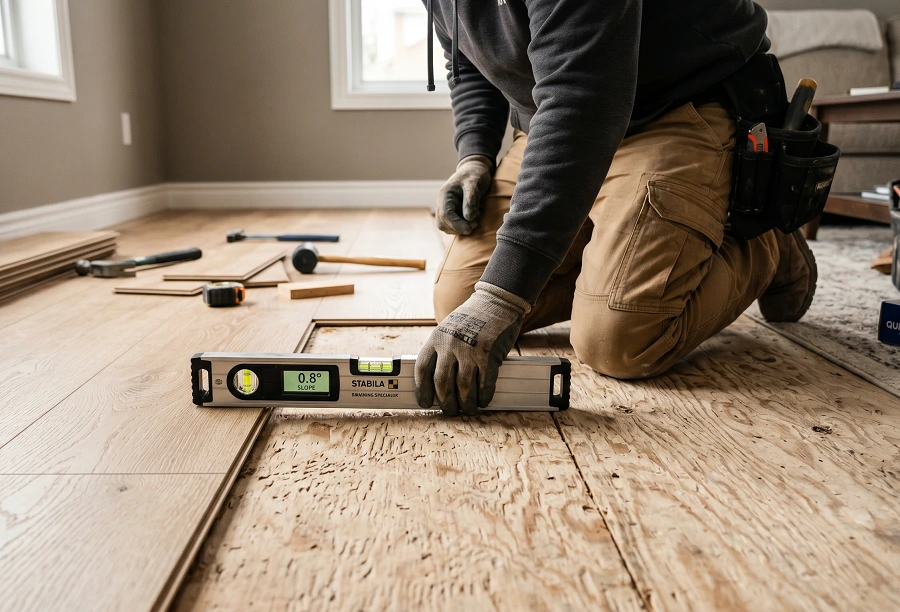
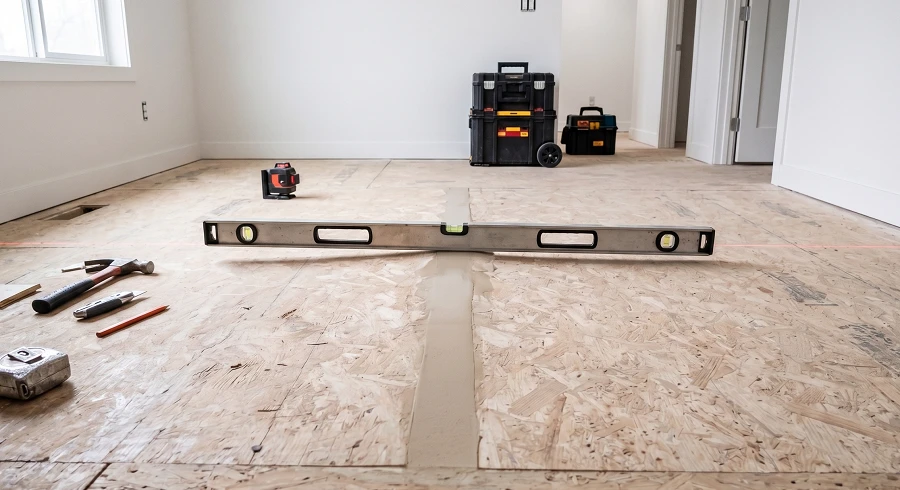
Check the Floor First Before Picking a Repair Method
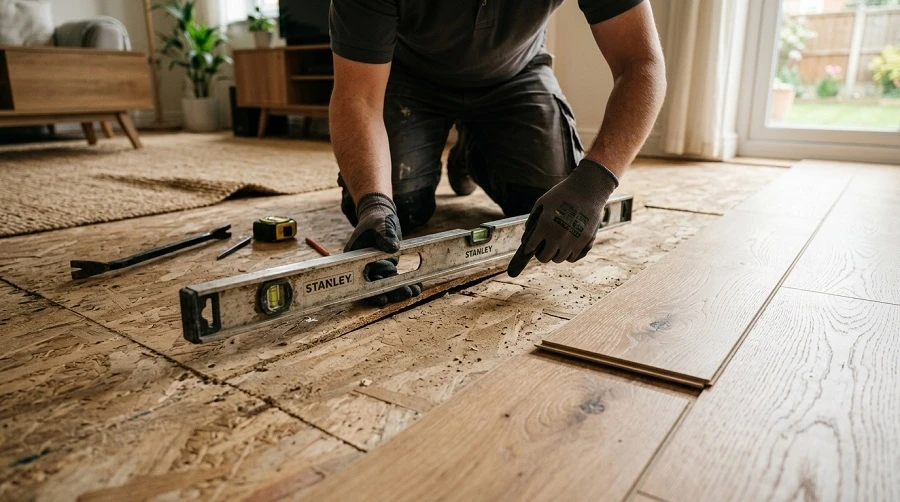
The best first step is to map the floor, not buy material too early. A long level, straightedge, or laser level helps locate the high and low areas across the room. Mark the problem spots and check whether they are isolated to one area or spread across a larger section.
That step matters because different conditions call for different fixes:
- A raised seam may only need sanding
- A shallow dip may only need patching
- A larger low section may call for a subfloor leveling compound
- A soft spot may need removal and replacement
Without that check, it is easy to use the wrong product in the wrong place.
What Goes into Proper Subfloor Leveling
Subfloor leveling means correcting dips, ridges, seams, and rough areas so the new floor sits on a flatter, more stable base. It does not always mean making the room perfectly level from wall to wall. In many homes, the real target is flatness, because that is what most flooring materials need.
This is why the term leveling subfloor often includes several kinds of work. One room may need sanding, another may need patching, and another may need replacement of damaged sections before any leveling product is used. Once the floor is assessed based on its actual condition, the right repair becomes much easier to plan.
Common Subfloor Leveling Problems and Repairs
Before getting into methods, it helps to see how different problems call for different fixes. Not every uneven floor needs the same repair, and treating them all the same usually leads to wasted time and short-term results.
This quick guide makes one thing clear: the first step is finding the real problem, not reaching for the nearest bag of floor leveler.
#cta_start
A Flat Subfloor Makes Every Flooring Project Look Better
Simple Flooring Co provides free in-home estimates across Illinois — from inspection to prep work, we help create a clean starting point for your new floors.
#cta_end
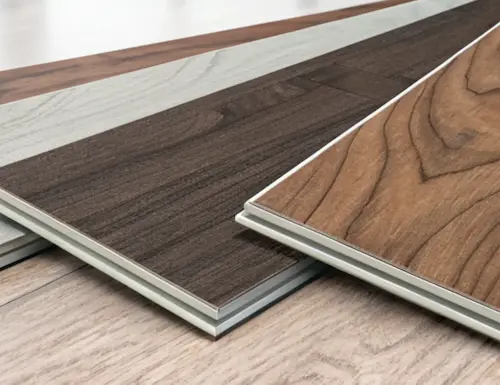
Wood Subfloors and Concrete Slabs Need Different Fixes
Wood and concrete subfloors rarely need the same repair approach. Each material has its own trouble spots, prep steps, and product requirements.
Wood Subfloors
Wood subfloors often need fastening and repair before flattening starts. If the sheets move underfoot, adding screws or replacing weak sections usually comes first. High spots can often be sanded down, while low spots may be patched with a product rated for wood surfaces.
In some rooms, the better answer is not filling every defect one by one. If the subfloor has too many irregular areas, adding a new layer of plywood may create a cleaner base for the next stage.
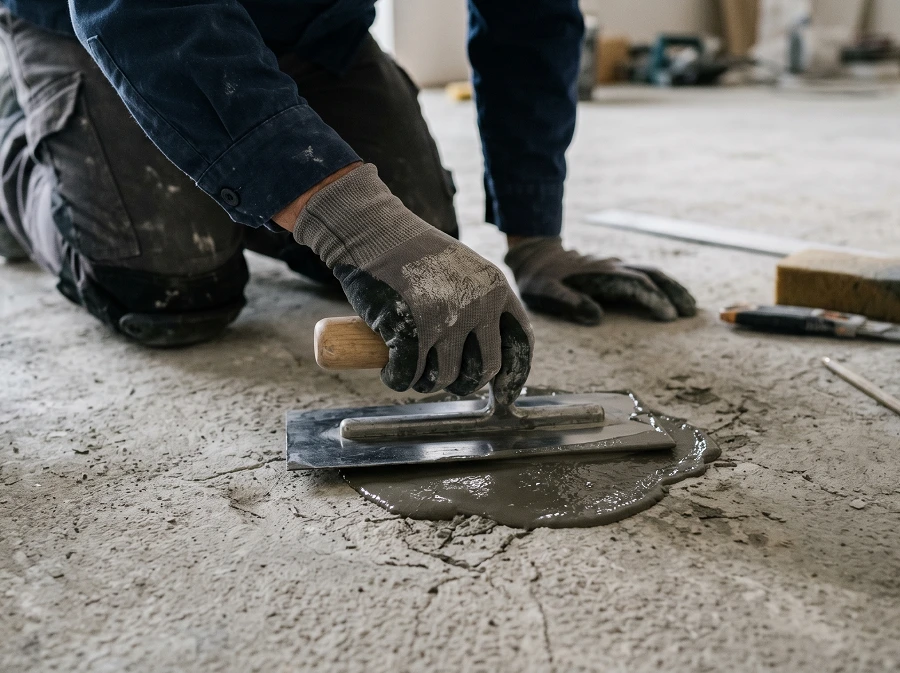
Concrete Subfloors
Concrete usually calls for a different sequence. High areas are often ground down, cracks may need repair, and low spots can be filled with patching material or a floor leveler made for slab surfaces.
If grinding is part of the job, dust control matters. OSHA’s respirable crystalline silica rule for construction requires exposure controls for work that creates silica dust, and CDC notes that breathing silica dust can lead to serious lung disease.
How to Fix High Spots and Low Spots the Right Way
High spots and low spots are different problems, and they need different fixes.
How High Spots Are Handled
Raised seams, ridges, and humps should be brought down first. On wood, that often means sanding after loose sheets are secured. On concrete, it usually means grinding. The point is to remove the pressure point so the finished floor lies flat instead of bridging over it.
How Low Spots Are Handled
Low spots need filling, not grinding around them. Small dips may only need a patch. Wider or deeper depressions may call for a self-leveling underlayment or another approved floor leveler. After the product cures, the floor should be checked again with a straightedge and touched up where needed.
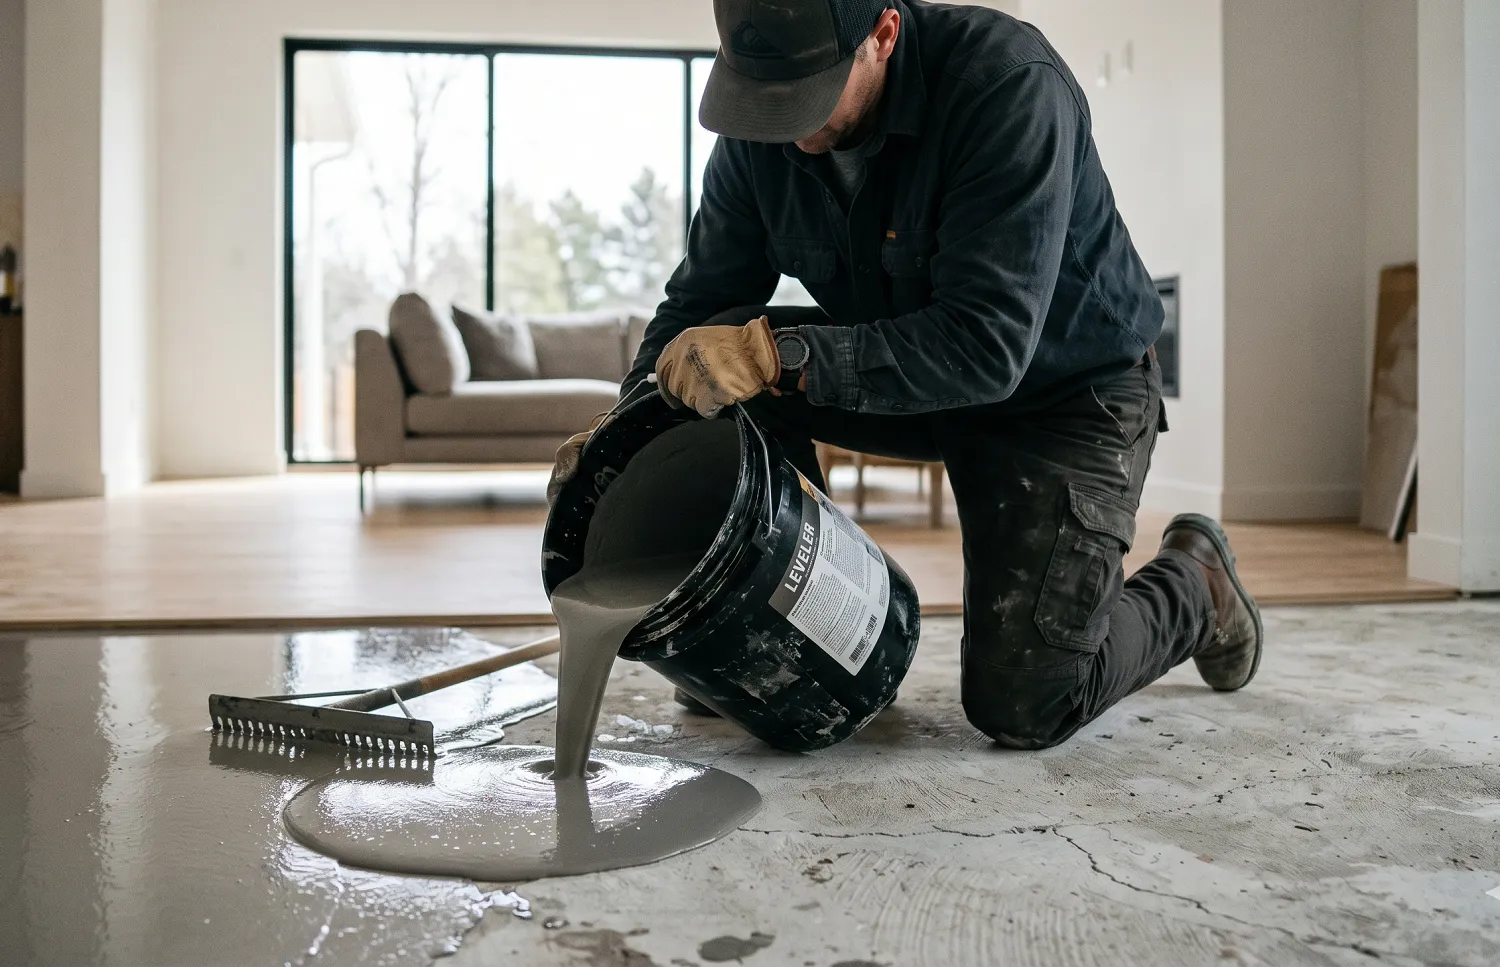
When a Subfloor Leveling Compound Makes Sense
A subfloor leveling compound is useful when the structure below the surface is sound and the main problem is flatness, not movement or rot.
Use a subfloor leveling compound when:
- The floor is solid but not flat
- Low spots are spread across a broader area
- The finish flooring needs tighter tolerances
- The product is rated for the subfloor type and flooring system above it
Do not use it as a shortcut over loose panels, rotten wood, active leaks, or major structural movement.
How to Prep a Subfloor Before Leveling
Primer deserves its own section because it is often skipped, and that is where many leveling jobs go wrong. A better prep sequence looks like this:
1. Remove the Old Floor Completely
The installer needs full access to the base surface. Leaving scraps of underlayment, glue, or loose material behind can weaken the bond.
2. Clean the Surface
Dust, paint, adhesive, and debris can all get in the way. The floor needs to be clean enough for the next layer to bond well.
3. Refasten Loose Sections
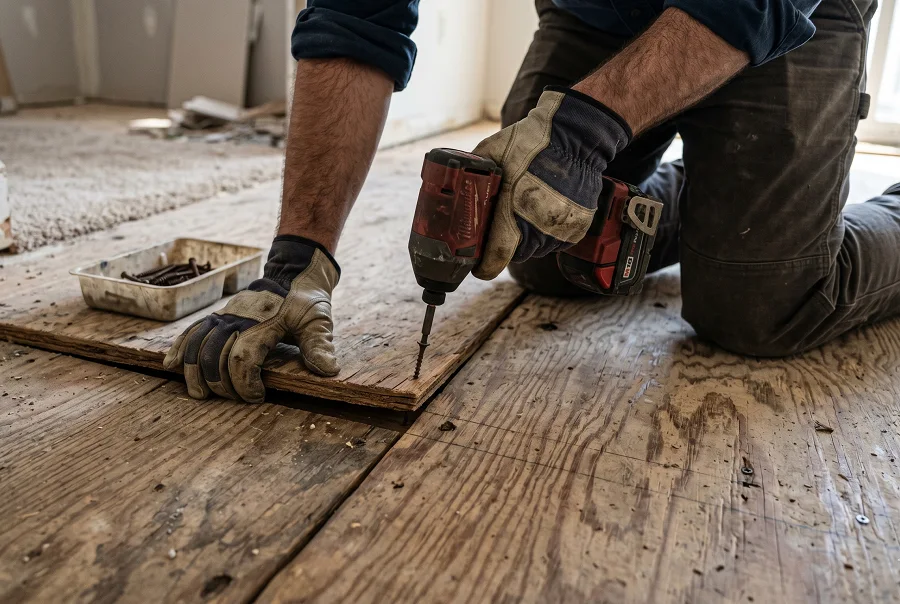
If the subfloor moves, patching over it does not solve the problem. Loose wood panels should be screwed down before the floor is leveled.
4. Repair Damaged Areas
Rotten wood, cracked sections, or broken seams should be replaced or repaired first.
5. Prime When the Product Calls for It
Many leveling products require a primer before application. That step helps the product bond to the surface and keeps porous substrates from pulling moisture out of the mix too fast.
6. Fill Low Spots or Pour the Leveler
The material should be mixed and applied to match the product instructions and the room’s conditions.
7. Let the Material Cure Fully
Rushing the next stage can damage the repair before the new floor even goes in.
8. Recheck the Room
After cure, the floor should be checked again with a long level or straightedge so any remaining trouble spots can be corrected before installation starts.
Why Moisture Testing Still Matters After Leveling
A floor can be flat and still fail if moisture is ignored. ASTM F710 says on- or below-grade concrete floors for resilient flooring need a permanent moisture vapor retarder under the slab. NWFA also says concrete must be dry, moisture tested, and paired with a vapor-retarding membrane for many wood-floor applications.
For homeowners, the takeaway is simple: if the slab has a moisture issue, leveling alone does not solve it. The source of moisture has to be addressed, and the flooring system above the slab has to match site conditions.
When Leveling Alone Will Not Fix the Problem
Some floors need repair before they need leveling. That usually includes:
- Rotted plywood
- Soft spots from leaks
- Broken seams
- Sagging framing
- Severe movement underfoot
- Large height changes across the room
A patch or pour over those conditions may look fine for a while, but it does not solve the base problem. The damaged structure should be repaired first, then the surface can be flattened for the new floor.
A Better Base Means a Better Finished Floor
Subfloor prep is not the flashy part of a flooring project, but it is the part that decides how the finished floor will look, sound, and last. A well-leveled floor feels solid, wears more evenly, and gives hardwood, laminate, vinyl, carpet, or tile the base they need from day one.
If you are planning new floors and want the surface checked before installation starts, Simple Flooring Co can inspect the room, map the problem areas, and recommend the right fix for the subfloor below your new flooring. Reach out today!


